Since Emails are sent as plain text messages, encrypting and signing them is crucial. Anybody sniffing the connection traffic on routes used to deliver the message could have a look at your private e-mail or manipulate contents without having to open any envelope. Therefore, this tutorial is about encrypting your e-mails using PGP (= Pretty Good Privacy). This cipher is 100% proof against cracking attempts if the algorithm and bit length for the keys are chosen well. This tutorial can be used with any popular email provider like Yahoo! Mail, G-Mail, GMX, Web.de,etc. You will not have any costs for encrypting your e-mails, pretty good ;) . You are also able to create unique signatures for e-mails, files, etc. This way, recipients can ensure the authenticity of a received e-mail.
(As follows I am using Screenshots of the German tutorial - this will be updated - you are welcome to submit appropriate screenshots by email)
time of exposure : 20 - 40 minutes
Software used : - GnuPG
- Enigmail is gonna be installed by the add-on manager of Mozilla Thunderbird
1. Install GnuPG for Windows:
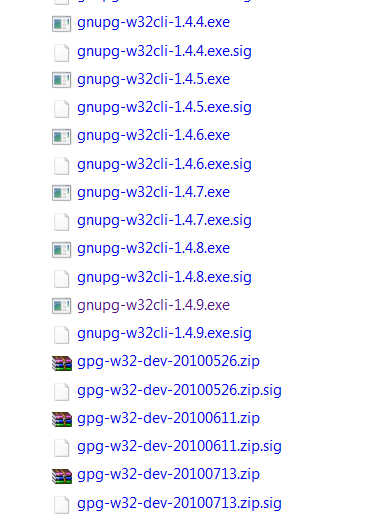
We start with downloading the latest EXE file and executing it. Following picture are showing the installation process step by step:
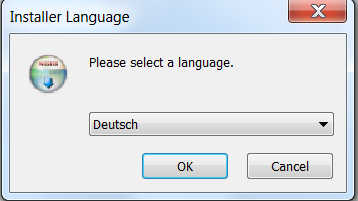
Choose your language and press OK
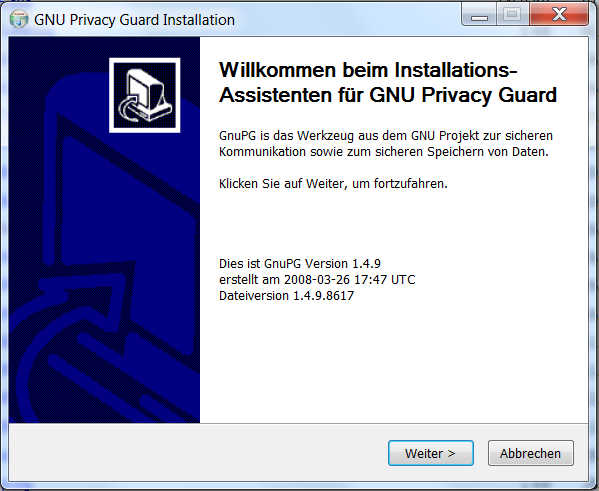
Next
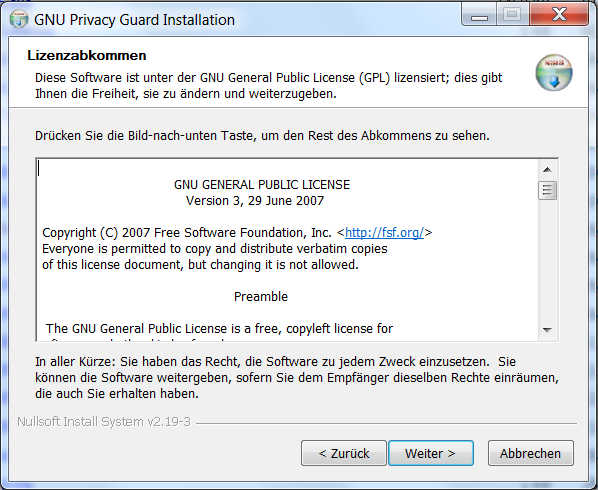
Next
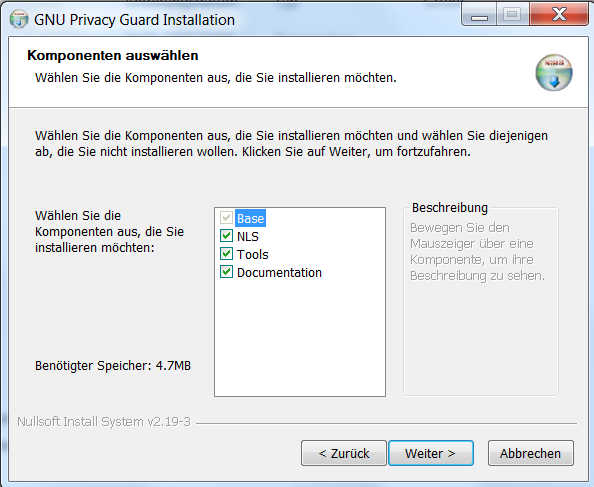
Next
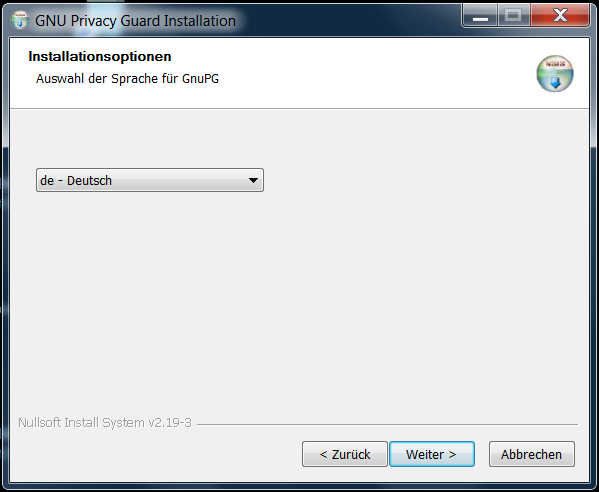
Next
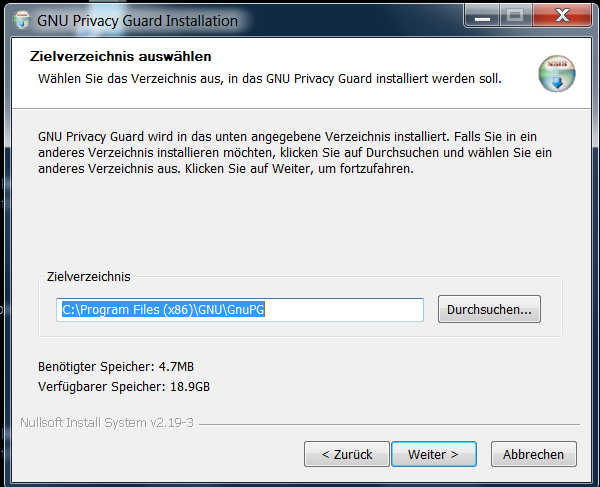
Next
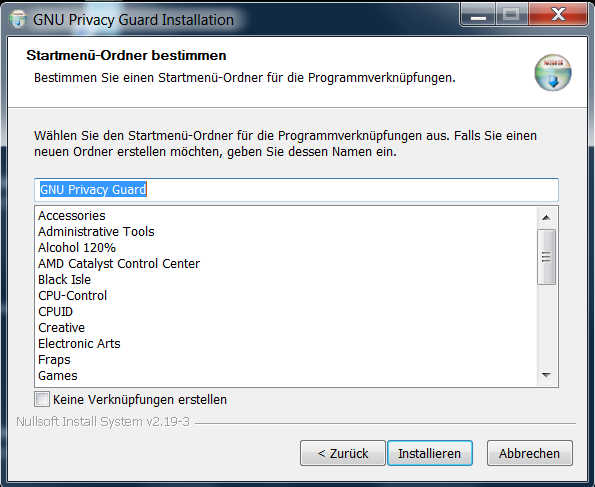
Install
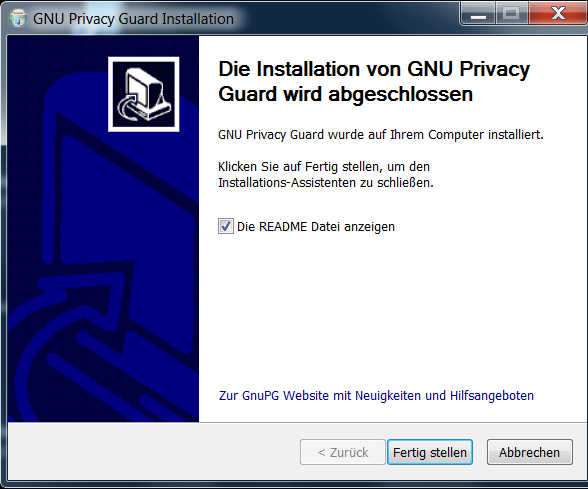
Finish Installation
2.1 Installation
download Thunderbird
Following Pictures are showing the installation process step by step (The pictures are taken from the German tutorial - feel free to submit screenshots if you got appropriate ones by email)
After downloading the setup file, we execute it. Following dialog or something similar will show up :
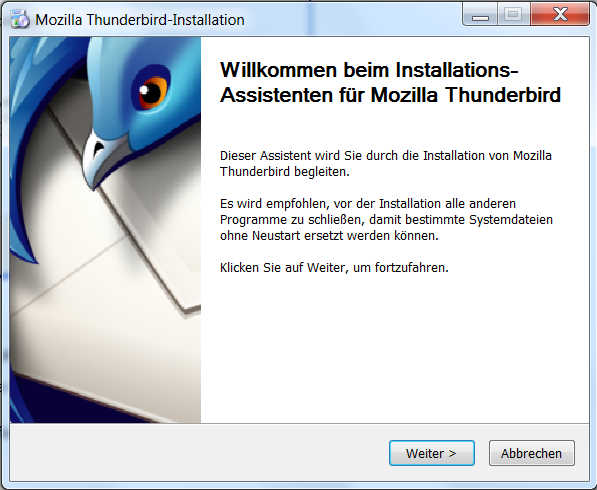
Next
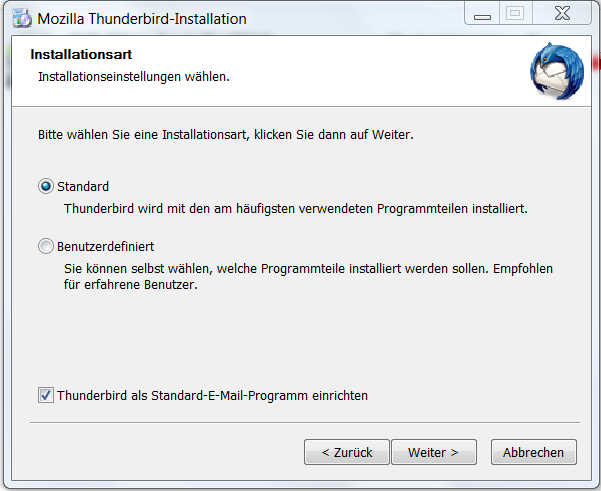
Next
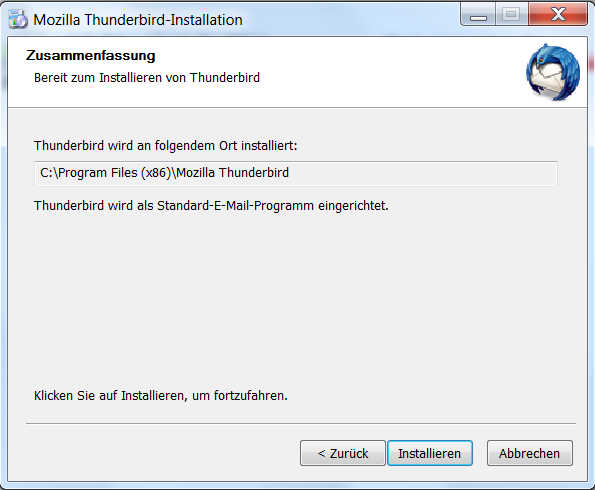
Install
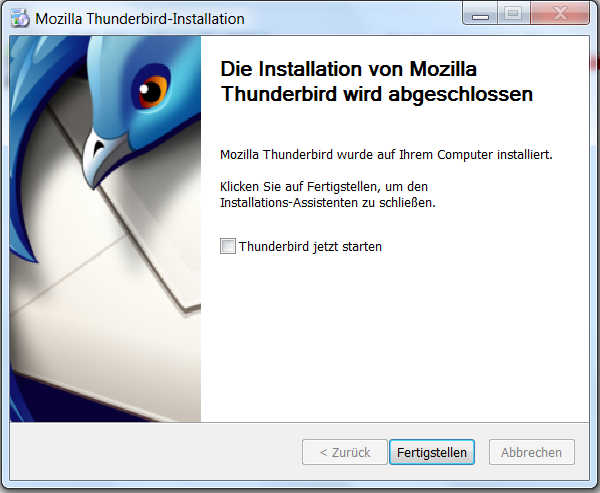
Finish Installation
2.1.1 Setting up a Thunderbird Email Account:
First we click at E-Mail to create a new account.

Following dialog also opens up when we fire up Firebird the first time -
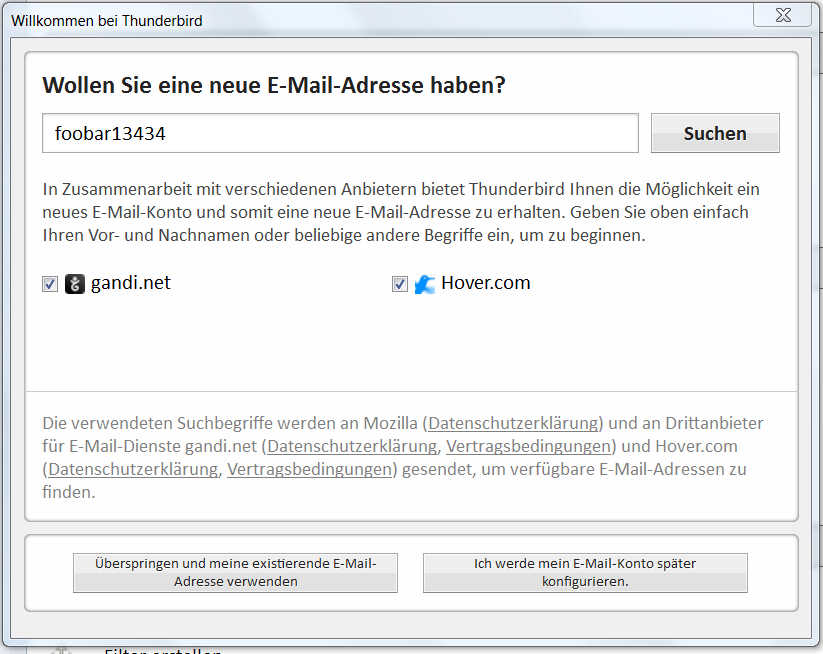
Since we do not want to use a new email address, we have to pay for but our already existing free account at Yahoo! Mail, Gmail, Gmx, Web.de, etc. we click at
![]()
(Means : Skip and use my already existing Email-Address)
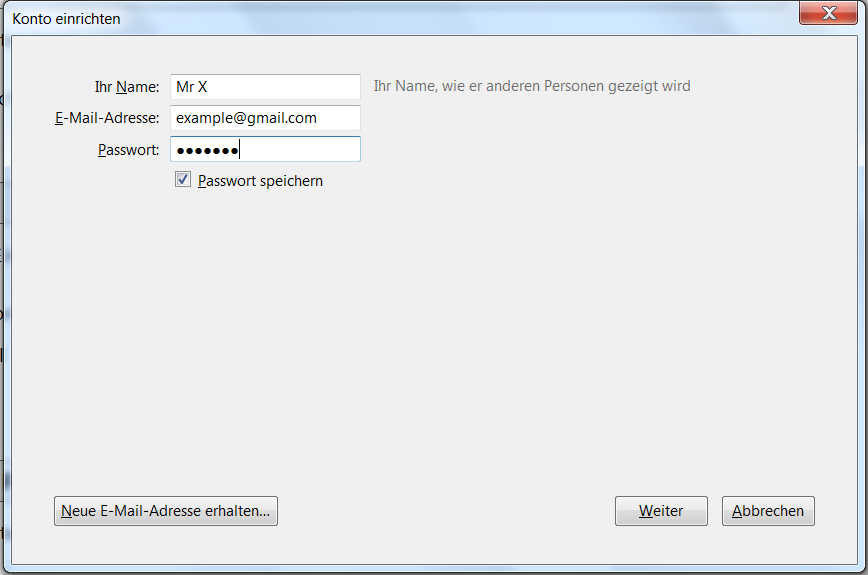
Now we have to enter name, email-address, password for your email hoster and click next.
Thunderbird will now determine the correct settings for us.
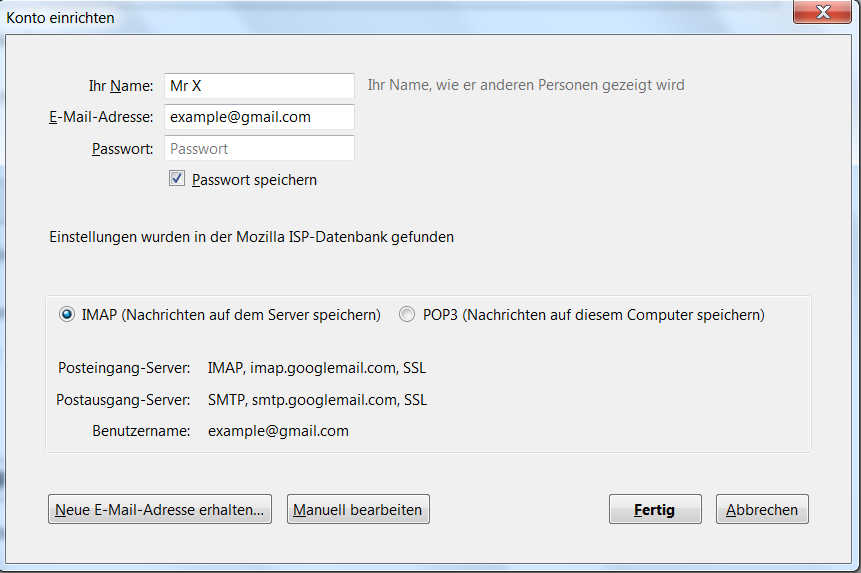
Click Done
Short details about IMAP and POP:
The Internet Message Access Protocol (IMAP) : Messages are downloaded for each direct request for opening an e-mail. Your message list gets synced by downloading the headers of the messages. Your Advantage : Data and Folders(Inbox, Trash, Sent, etc.) remain on your Server and you can access them from all over the world. With Thunderbird, you got the option to completely synchronize folders and subfolders to work offline with your messages.
The Post Office Protocol (POP) : All Folders and Data remains on the local computer where you downloaded the messages to. You can also configure Thunderbird to let a copy remained at your server, but usually it gets deleted if you synchronize your messages. The disadvantage: You cannot access any message from any computer. So it is hard to continue working with your emails, if you have to access your mails for instance from a public terminal.
2.2 Install The Enigmail Add-on:
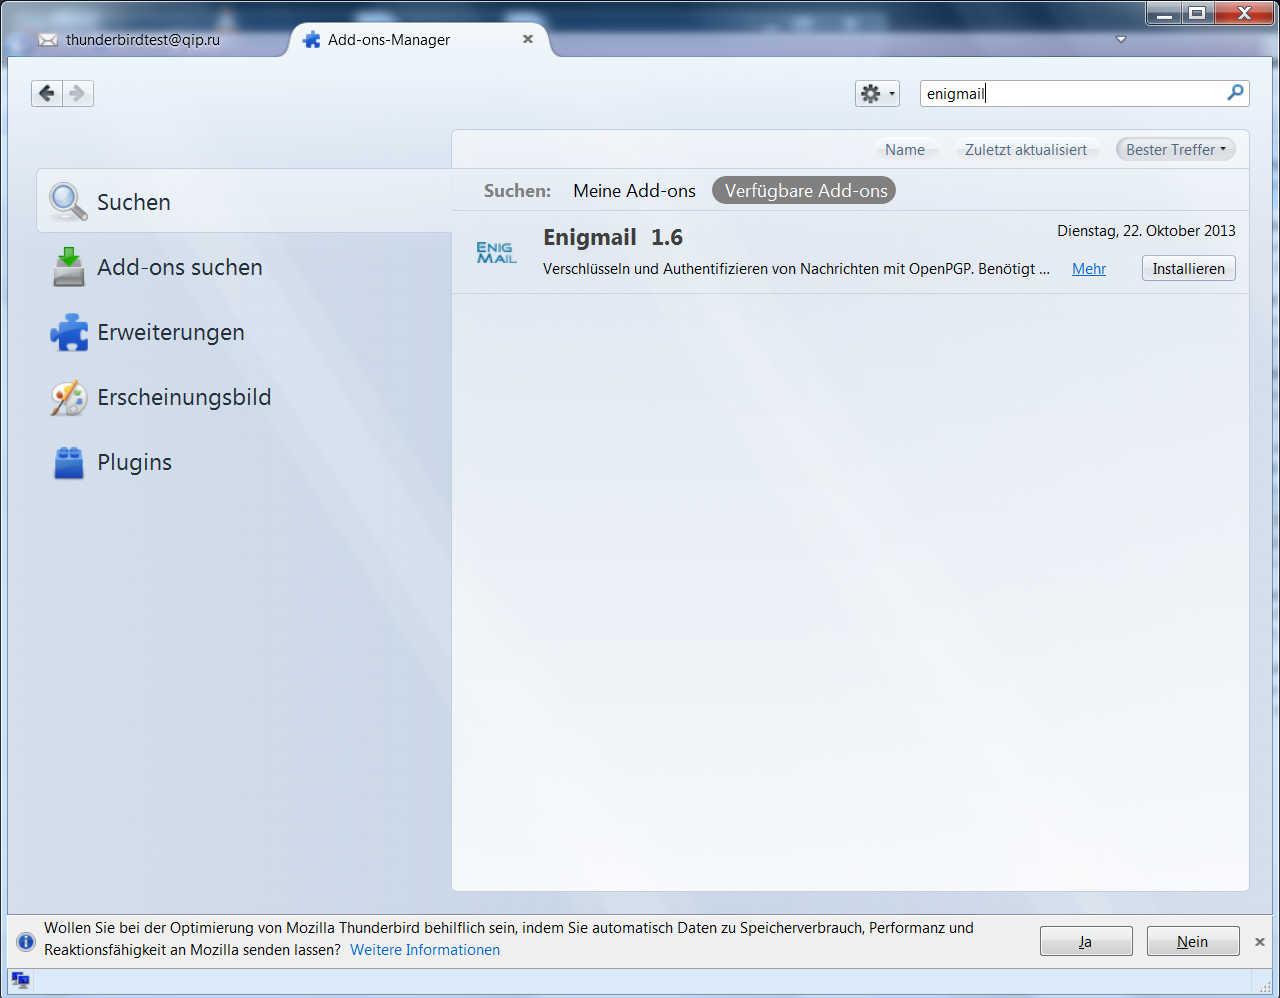
Click at extended options(upper corner to the right) => Add-ons. Now type in enigmail at the search box and execute the search. By clicking install, we are installing Enigmail.
2.3 Configure Thunderbird:
If you already generated the key by command line, you can skip the following step.
2.3.1. Generate a PGP Key with Thunderbird.
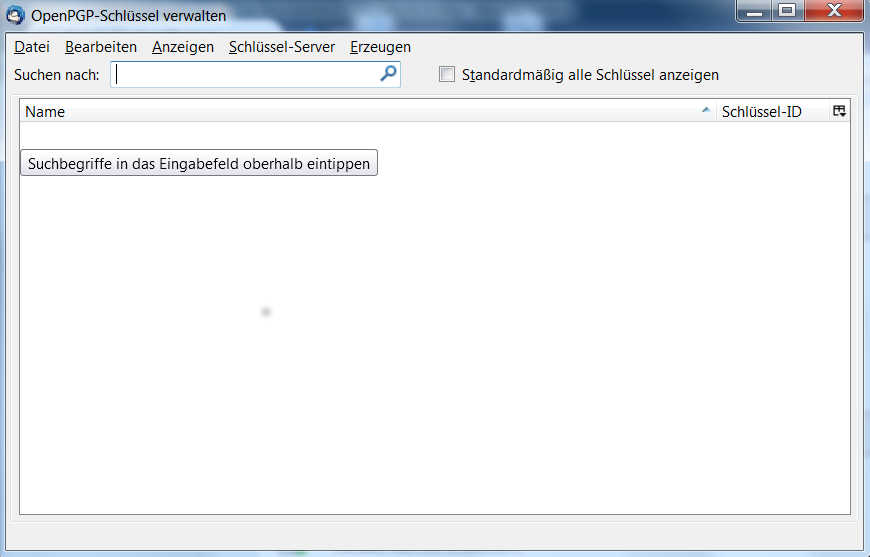
First click on extended options(upper corner to the right) and then choose the sub menu Key Management. Now click the option the right Generate/Create and choose new key pair.
Now we need to enter and acknowledge the password which we are asked for when we want to sign/encrypt/decrypt messages. Validity period is by default 1 year.
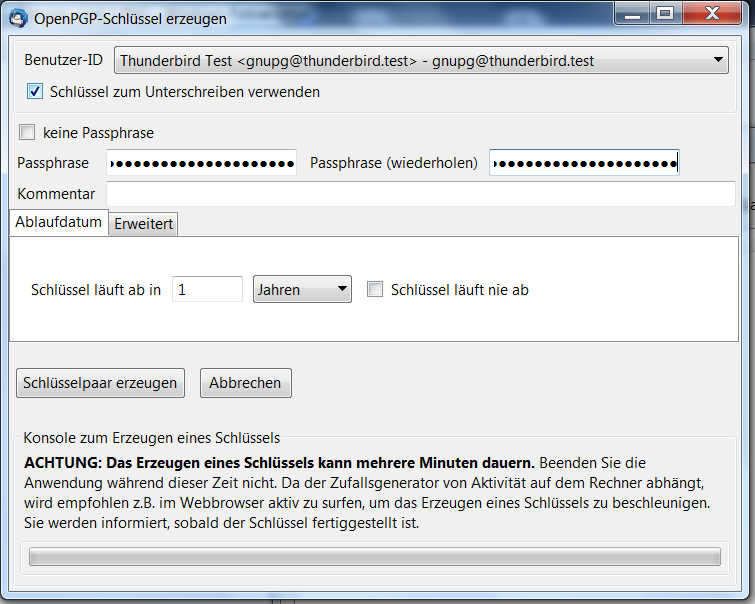
By default, the key strength is set to 2048Bit. I recommend ensuring it's set to 4096 Bit.
Clicking at generate/create key pair will start the key generation.

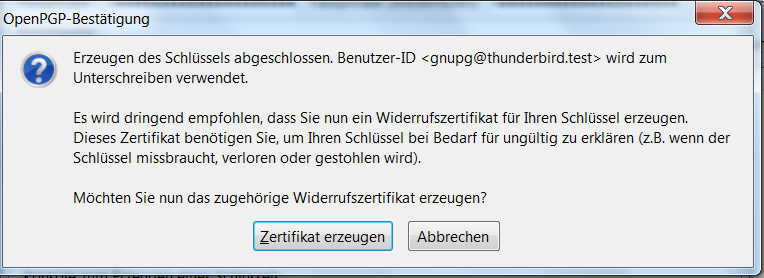
After creating the key pair we should create a revoke certificate to be able to revoke the key anytime, if it got lost or otherwise compromised. You should store this at a save place (extended hd/flashcard/etc.).
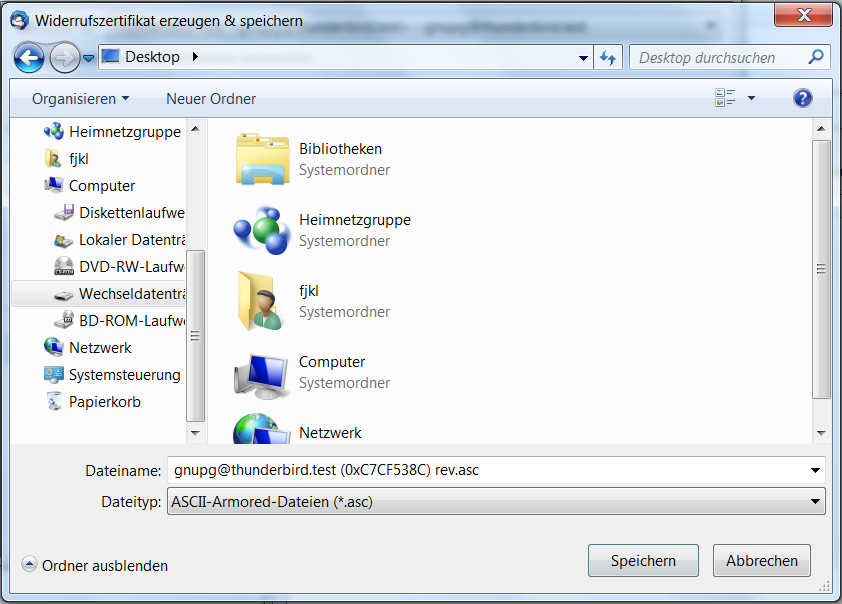
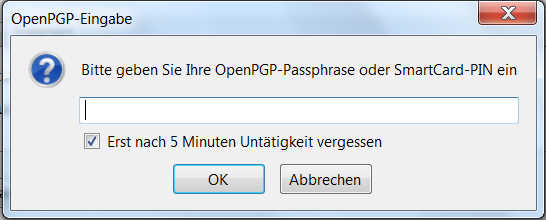
To secure the accessibility to your keychains, you need to enter your passphrase from time to time.
2.3.2 checking the existing keypair: extended options => OpenPGP => Key Management
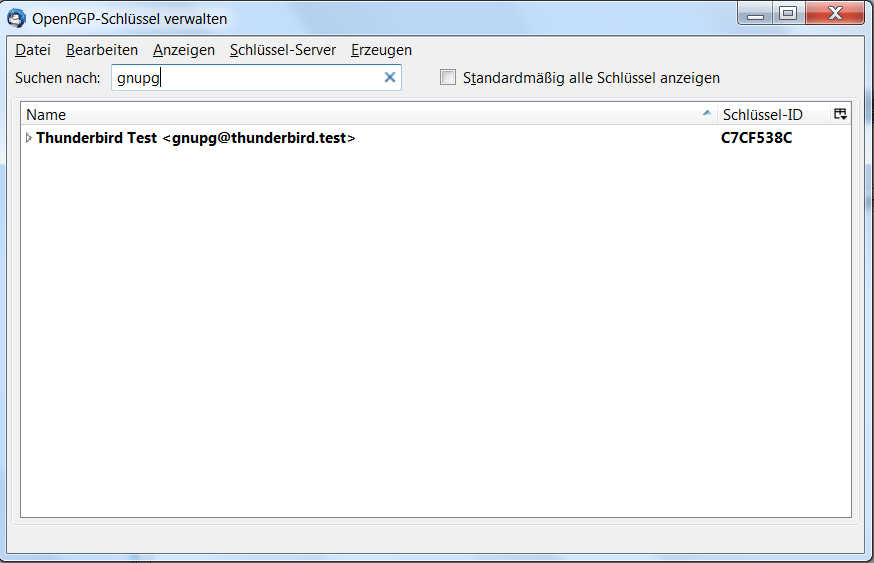
If you can look up your email-address, nothing has gone wrong.
Now open up your account settings : extended options => account settings. There, you choose your email account and click Extended...on the lower corner to the right.
This will open up the following dialog:
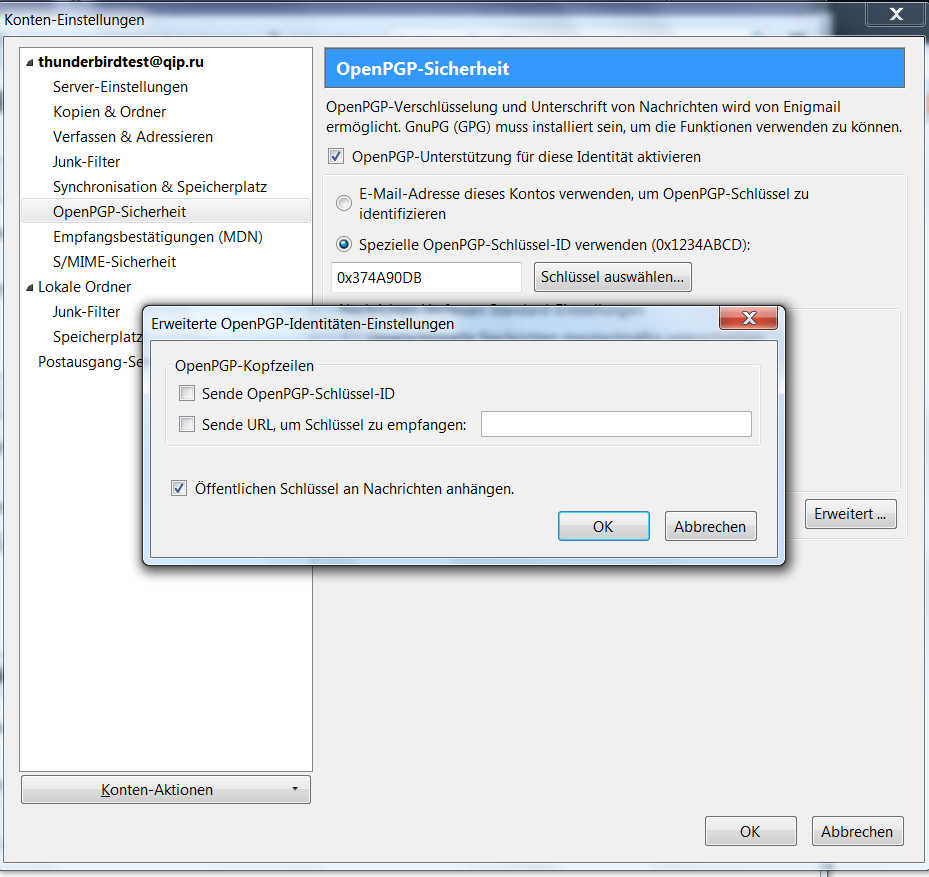
Check the box at attach public key to messages, to ensure your new generated public key is sent with your messages, so your recipients are able to sent encrypted messages to your address. Your contact needs to import this public key to be able to send encrypted messages to your email-address.
At the submenu of your email-account:
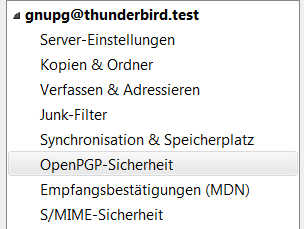
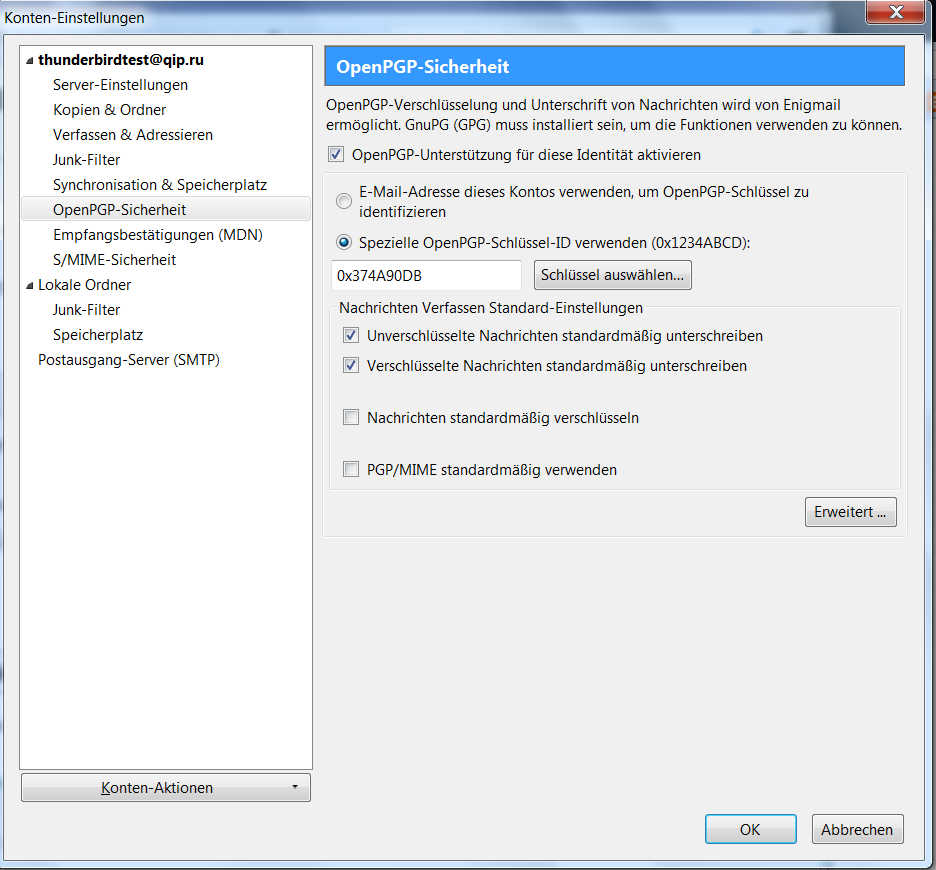
With clicking at OpenPGP - Security, we can configure PGP.
By activating automatically signing of messages for encrypted and normal messages, any message will be signed, so your friends can authenticate your messages as original.
BTW we can check again if we have selected the correct key.
2.3.3. Sending Emails with Thunderbird
If we followed all steps, we can test if the encryption is working: Just open up a new message dialog, enter your own email-address as recipient, enter a topic, choose encryption and signing, type in a message and click send. You now need to type in your key pair passphrase to sign and encrypt the message.
The email you have now just received, you can decrypt by giving your passphrase.
Commonly, your email scenarios will look like this:
A wants to send B an encrypted message : so A needs to import first B's public key.
B wants to send A an encrypted message : so B needs to import first A's public key.
As you see, you need to exchange your public keys first to have a save chat by PGP encrypted e-mails.
Since we configured to automatically attach the public key to any message sent, you just need to email your contacts.
All they need to do is importing your public key by using the Key Management Menu.
[--will be updated--]
Never share your private key !!!
Have Fun with your pretty good privacy! ;)
Posted at 2014-04-27 22:43:43( updated at 2018-09-17 22:27:06 - $3b4sh )
in Manuals
Tags:
